Farm Learning
Hanging a gate easily and accurately with a Drop Hinge Kit
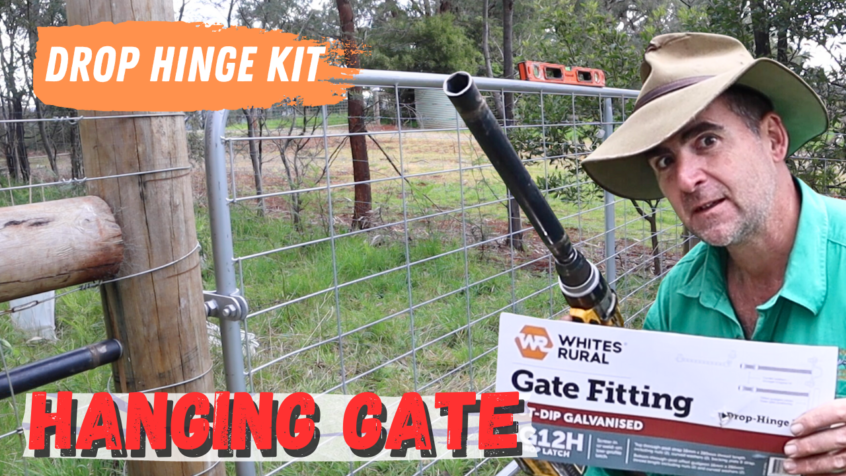
Hanging a gate easily and Accurately (Watch Video)
Installing gates can be a challenging and frustrating task, but today, we’re about to introduce you to a game-changer – the drop hinge kit. Whether you’re working with steel or timber posts, this innovative solution will revolutionize the way you hang your gates. Say goodbye to complicated installations and hello to ease and efficiency. You will be hanging a gate easily and accurately.
The Drop Hinge Kit:
Traditional gate installation often involves drilling two holes into the post, which can be time-consuming and, in some cases, inconvenient. Enter the drop hinge kit, a solution that simplifies the process and offers several advantages. OK, you’re about to start hanging a gate easily and accurately. First, do yourself a favour and subscribe for more blogs like this, then let’s get hanging!
Elevation Flexibility:
With the drop hinge kit, you can drill your hole much higher up on the post, eliminating the need to go below the surface of the ground. This flexibility is especially valuable when dealing with small animal applications. By positioning the hole higher, you make it easier to install and maintain your gate.
Single Pin Design:
Unlike traditional methods that require a secondary pin, the drop hinge kit operates with a single pin. The extra length of the gudgeon on the pin ensures that the weight of the gate holds it upright once installed. This streamlined design simplifies installation while maintaining gate stability.
Measurements Matter:
Before you start hanging your gate using the drop hinge kit, take two critical measurements:
a. From the bottom of your gate up to the center of your threaded rod on your bottom pin (typically 65 millimeters).
b. From the middle of your bottom pin to the middle of your top pin (in this example, 860 millimeters).
Always position your top pin in the panel designated by the gate manufacturer and avoid positioning it too high, as this could allow clever livestock to lift the gate.
Hanging a gate easily and accurately; Steps
Prepare the gate and the terrain. Ensure that the gate is level, and adjust the height according to the slope of the ground.
Measure 25 millimeters down from the top wire to mark the center of the threaded rod on your bottom pin. Align this mark with the bottom brace to maintain a straight orientation.
Drill two holes, front and back, into the steel or timber post using the appropriate tools.
Utilize the drop hinge kit components, including elliptical washers designed to fit the post’s face perfectly.
Secure the gate in place using the drop hinge kit components, ensuring a secure and sag-free installation.
Conclusion:
Hanging gates no longer needs to be a daunting task. With the drop hinge kit, gate installation becomes straightforward and efficient. Say goodbye to the frustrations of traditional methods and hello to a simpler, more convenient way of hanging gates. If you found this video helpful, please subscribe and give it a thumbs up. For more informative content, visit TimThompson.ag. Until next time!