Farm Learning
Troubleshoot Electric Fence Problems, Earth Diagnosis
If you’ve ever had issues with your electric fence, you’ve probably heard the common phrase, “It might just be a bad Earth.” But how do you test it, and more importantly, how can you fix it? In this blog post, we’ll explore some straightforward ways to troubleshoot your electric fence problems by testing your electric fence’s Earth. We will then provide easy solutions to ensure your fence performs optimally.
Understanding Electric Fence Earthing:
Before we delve into troubleshooting, let’s clarify the basics of electric fence earthing. For every 15 stored joules of energy in your Energizer, you should have three 1.8-meter galvanised Earth Stakes. These stakes should be connected by a single Earth lead without any joins, using appropriate clamps to prevent corrosion and ensure a secure connection. Proper spacing between Earth Stakes is crucial, with a recommended distance of four metres between them. This spacing accounts for the sphere of activity of each Earth Stake.
The Super Earth Kit:
For those with larger energizers, the number of Earth Stakes can add up quickly. Gallagher offers a solution to reduce the number of stakes required—the Super Earth Kit. This kit, consisting of bentonite clay and salt, enhances the electrical conductivity of the Earth, eliminating the need for two out of every three Earth Stakes. While it may be a bit more expensive than traditional steel posts, it’s three times as effective and simpler to install.
Installing the Super Earth Kit:
Installing the Super Earth Kit is relatively straightforward. Dig a hole near one of your existing fence posts to prevent damage from livestock or machinery. Place the Earth Stakes in the ground and use the included steel rod along with the bentonite clay and salt mixture. This kit is particularly useful for large units, reducing the clutter of Earth Stakes along your fence line, although these kits should always be spaced 10m apart!
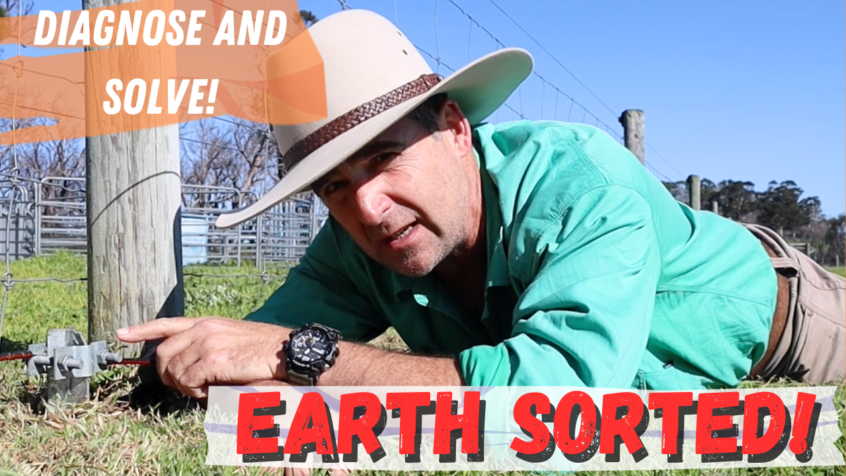
Now, let’s get to the heart of troubleshooting electric fence problems—testing your Earth. To check if your Earth is causing issues with your electric fence, follow these steps:
Short out your electric fence by connecting two or three Earth Stakes about four metres apart along the fence line.
Make sure your fence is safely turned off while doing this.
After shorting out the fence, turn it back on to test your Earth.
Using a fault finder, you can determine if there’s a problem with your Earth Stakes. Ideally, you should read between 0.2 and 0.3 kilovolts at the Earth Stake. Anything above 0.5 kilovolts suggests an issue with insufficient Earth Stakes or problems with their connections.
Replacing Rusty Components:
Electrons don’t run through rusty steel; they run around it. Pitted, rusty surfaces create significant resistance, diminishing your fence’s performance. If you’ve identified rusted components, particularly those related to Earth, replace them with non-corroded materials to improve conductivity.
Watering Your Earth Stakes:
In hot, dry conditions, the soil around your Earth Stakes can become excessively dry, reducing their effectiveness. A simple solution is to water your Earth Stakes regularly. Adding moisture to the soil restores conductivity, improving the Earth’s performance.
Conclusion:
Understanding how to troubleshoot electric fence problems and maintain a proper Earth for your electric fence is crucial for its effectiveness. By following these tips for testing and improving your Earth, you can troubleshoot electric fence problems, solving common issues and ensure your electric fence operates optimally. Don’t forget to subscribe and hit that thumbs-up button if you found this blog post helpful, and stay tuned for more informative content on electric fencing and agricultural solutions. Don’t forget to check out my other electric fencing videos.